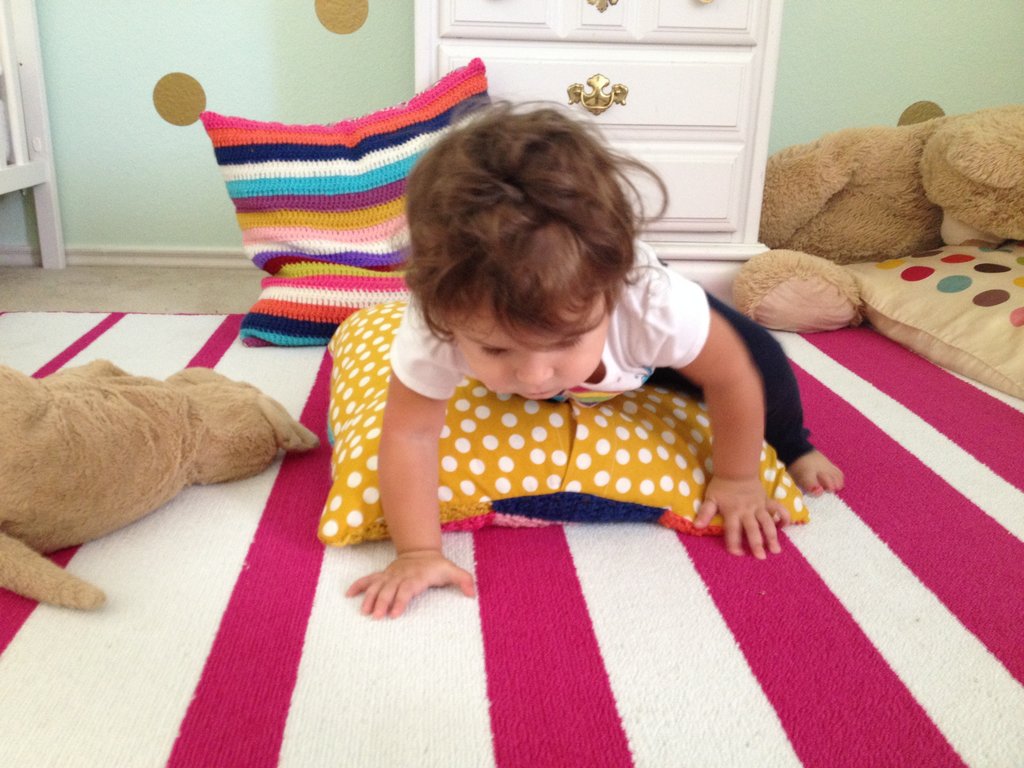
Now I must say, the finished length is supposed to be 16"x16". Mine turned out bigger at 18". Not sure why, maybe I crocheted a little too loose? So I figured I could stretch it to fit a 20"x20" pillow, you know, because crochet stretches. Well it worked pretty good but pulls a little; notice the yellow polka dot struggling to stay buttoned? My suggestion: If you want it to be a comfortable 20"x20", dc around until it is the desired width (21" if sewing fabric backing), working 3 dc in the corners. I decided to skip her suggested back piece in order to tie in a fun print I had on hand!

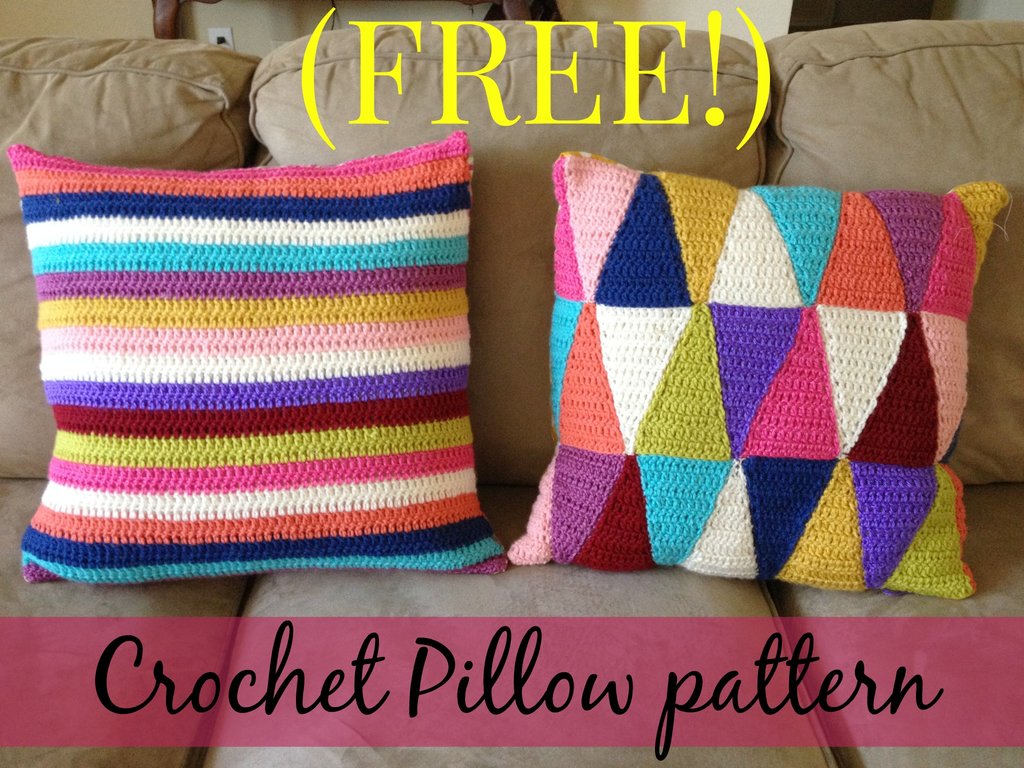
Disclaimer: this triangle pillow took a really long time to make. The result was amazing but no part of me wanted to make another one. That's the curse of twins, you have to make two of EVERYTHING. That's hard for me as I am a one-and done kind of person so I hate making the same thing twice. But I wanted a matching pillow for the other twins bed! So I came up with my own using the same colors. And I love it!
The pattern* for the stripped pillow is as follows:
Worsted weight yarn
Size G crochet hook
Coordinating fabric (optional)
2 1" buttons (optional)
Chain 72
Rnd 1: dc in 3rd ch from hook and in every chain across. Ch 2 and turn.
Rnd 2: dc across, ch 2 and turn.
Rnd 3: Change color and repeat round 2.
Rnd 4: Repeat round 2.
Keep repeating rounds 3 and 4 for a total of 19 stripes. Tie off.
If you want a crochet back you can make two of the stripped fronts, or crochet a solid color, or a different pattern altogether.
For fabric back:
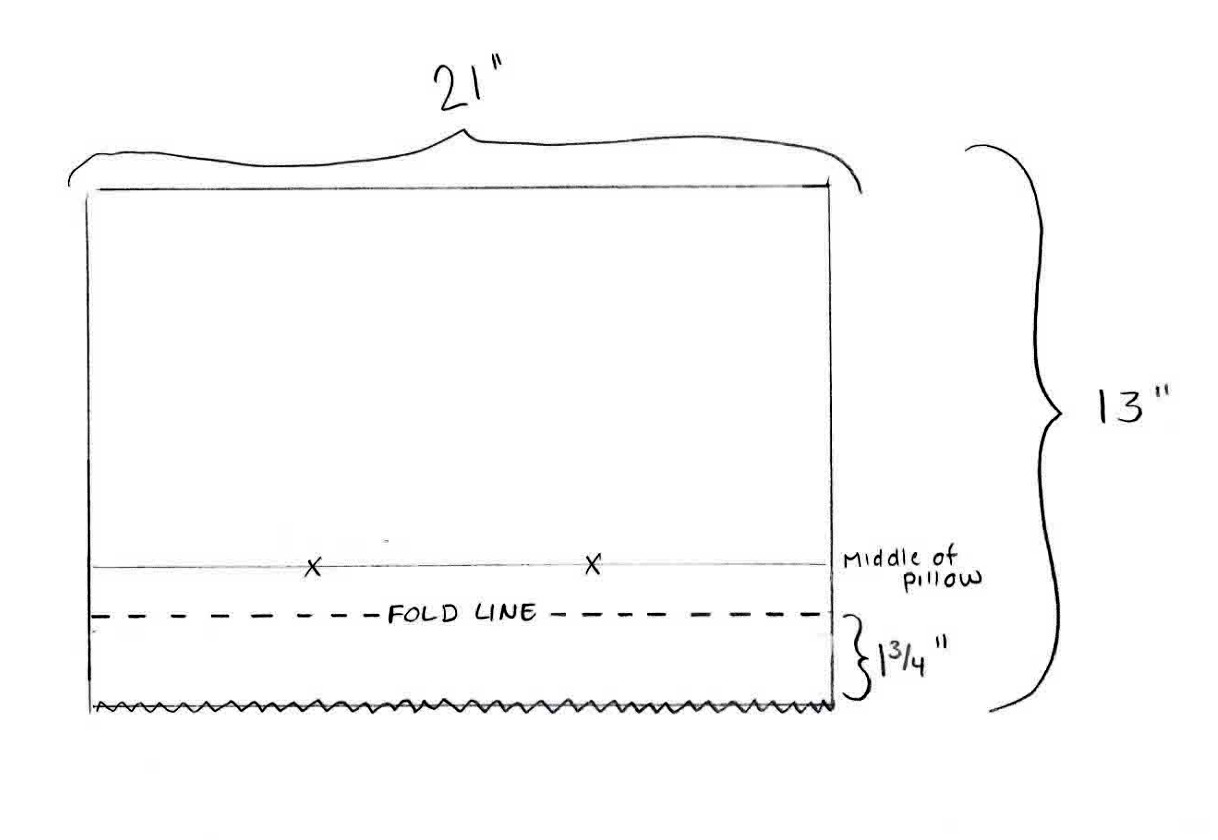
Cut 2 pieces of fabric 21" x 13"
1. Zig Zag or Serge one 21" end of fabric
2. Fold up 1 3/4" to wrong side and press
3. Stitch down 1/4" from raw edge
4. Place both sewn pieces right side up with plackets overlapping
5. Mark button placement on both
6. Add button holes to TOP piece
7. Sew on buttons to BOTTOM piece
8. Baste both pieces together on sides where plackets overlap, making sure your finished side measurement is 21"
9. Place crochet on top of right side of fabric and stitch together at 1/2" seam allowance
*This is a free pattern. Please do not repost or distribute pattern in whole or part. You may sell what you make from this pattern! By using my pattern and selling your items, you are also agreeing that you will give credit by adding a link to my original blog post in each individual listing, or on your tags. Please DO NOT use my photos to sell your items! Thank you!
Enjoy!
Love the color combination!
ReplyDelete